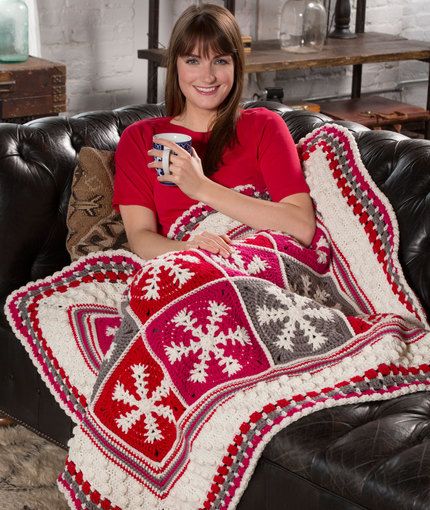
Crochet Snowflake Throw
Welcome to the magical world of crochet, where yarn transforms into beautiful creations! In this guide, you will be guided through an enchanting step by step to create a Snowflake Throw, a piece that will warm your heart and home during the cold days. Get ready to dive into the creative waves and make something special with your own hands!
Necessary materials:
5 skeins of snow-white soft yarn
Crochet hook size 5mm, for a soft touch
Magic scissors that cut wires with ease
Curious imagination and contagious enthusiasm
Step 1: The First Magic Thread
With your crochet thread in hand and your magic needle, make a slipknot and let your imagination run wild. This is the starting point for your Snowflake Throw!
Step 2: Snow Magic Ring
Make a magic ring by slipping the magic needle through the slipknot. Now, wrap the ring with magic chains – about 6 of them. Close the ring with a slip stitch and give it a soft touch, like a fairy kiss.
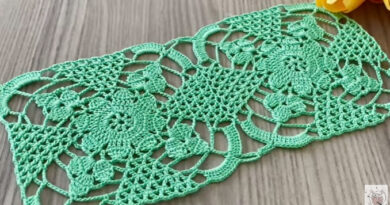
Another crochet pattern in PDF
Step 3: The Heart of the Flake
In this step, you will create the icy heart of the snowflake. Make a magic chain and then weave 12 double crochets into the ring. This will create small arches that resemble ice crystals.
Step 4: Bleaching the Rays
Now it’s time to expand the flake! Make 2 magic chains and, between the double crochets from the previous step, weave 2 double crochets, followed by 2 magic chains. Repeat this pattern until you have 6 groups of “rays”. This will create a realistic snowflake shape.
Step 5: Enchantment of Details
To bring the flake to life, create small low points in each high point of the previous round. This will create a delicate border and bring out the details. Remember to add 3 magic chains in each space between the spokes.
Step 6: Freezing the Magic
Now, you’re going to repeat Step 4, but this time with 3 magic chains between the double crochets. This will add an extra touch of texture and dimension to your snowflake.
Step 7: Free Falling Flakes
Continue with Step 6 until your snowflake is the size you want. Five to six rounds should be enough to create a magnificent flake.
Step 8: The Perfect Finish
End with a slip stitch and cut the magic thread with your enchanted scissors. Gently tug on the last stitch to ensure your creation is securely attached. Admire your glittering crochet snowflake!
Step 9: Assembling Your Snowflake Throw
Repeat Steps 1 through 8 to create multiple snowflakes. Then sew them together to form your Snowflake Throw. Let your creativity flow as you decide on the layout of the flakes.
Step 10: Magic Done!
Now you have an incredibly cozy Snowflake Throw, made with your talented hands and love. Let it adorn your sofa or bed, bringing winter charm into your home.
Congratulations, crochet master! You have gained the power to transform simple threads into a magical Snowflake Throw. Remember, each point carries your love and dedication. Keep exploring the wonderful world of crochet and let your creativity melt like snowflakes on a sunny winter day. Happy crochet!
If you liked this crochet yarn craft pattern, but would like to see a few more models before starting a new project, we’ll leave you with more options below:
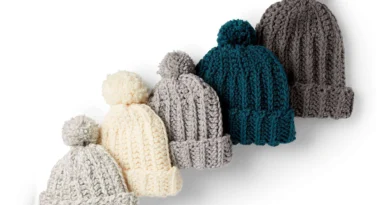
BASIC CROCHET RIBBED FAMILY HAT
Access the free crochet pattern/ Crochet Snowflake Throw – PDF
We wish you all an excellent week filled with God’s grace and mercy in your homes, and especially lots and lots of yarn, of the most diverse colors, for you to crochet.
With love and care, Crochet Today!