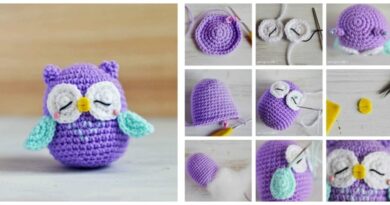
Crochet Accessories Caddy Doll Free Patterns
Caddy Doll Free Patterns. Crochet accessories are a great way to spruce up any outfit. Not only do they add a touch of personality, but crocheted accessories can also be very practical.
If you’re looking for crochet accessory ideas, be sure to check out this blog post. Here you will find free patterns for crochet caddy dolls and other crochet accessories.
From a crocheted wristlet to a crochet beanie, these accessory patterns are sure to get you inspired. So what are you waiting for? Start crocheting today!
Caddy Doll Free Patterns: Materials
Materials:
- -Crochet hook size G/6.50mm and smaller
- -Yarn sufficient to make a caddy doll that measures 12 inches long by 6 inches wide (30 cm x 15 cm)
- -1 inch buttons
- -Bone folder or other cutting tool
- -Pins or needles for sewing
- -Beading needle and thread to match the yarn color
- -Fiberfill stuffing material (optional)
Directions:
1. Start crocheting by chaining 12 together as shown in the picture below. You can use any type of chain you like, but I recommend using a slip knot for this project so that your caddy is easier to work with. Do not join the chains yet.
2.Row 1: Sc in second ch from hook and each remaining ch, turn (11 sc).
3.Rows 2 – 5: Ch 1, sc in each sc, turn (11 sc).
4.Rows 6 – 10: Rep Row 2 – 5, turn (30 sc).
5.Row 11: Sc in first sc, dec over next 2 sc, turn (27 sc). [Sc in next 3 sts, dec over next 2 sts] twice, turn (21sc). [Sc in next st, dec over next 2 sts] 3 times, turn (16sc). Fasten off leaving a long tail end to sew later on. Weave in the end.
6.Sew one button to each end of the 16 sc on Row 11.
7.Chain 3 and turn, sc in second ch from hook and each remaining ch, turn (12 sc). Fasten off leaving a long tail end to sew later on. Weave in the end.
8. Sew one piece of yarn to one side of each of the 12 sc on Row 11 as shown in the picture below, do not sew through both pieces of yarn at the same time! You will need to pull up on both yarn ends when you are finished sewing so that they stay put.
9. Repeat Step 8 for the other side of the caddy.
You now have two caddy halves!
10.Fiberfill stuffing material is optional, but it can help to make your caddy more sturdy and less likely to fall apart over time. If you choose to use fiberfill, simply follow the instructions below. Otherwise, you can simply skip this step and move on to sewing your caddy together later on.
11.To make the fiberfill filling, mix together 1 cup of water and 1/2 cup of cornstarch in a bowl until smooth. Add enough stuffing material to make the caddy doll roughly half full, and mix well.
12.Sew one piece of yarn to one side of each of the 12 sc on Row 11 as shown in the picture below, do not sew through both pieces of yarn at the same time! You will need to pull up on both yarn ends when you are finished sewing so that they stay put.
13.Pour the fiberfill mixture into each of the caddy halves, making sure to fill all the gaps and corners. Mix together until everything is evenly filled.
14.Sew one piece of yarn to one side of each of the 12 sc on Row 11 as shown in the picture below, do not sew through both pieces of yarn at the same time! You will need to pull up on both yarn ends when you are finished sewing so that they stay put.
15.Fold each caddy half in half along the long edge that is closest to you, so that the fiberfill mixture is sandwiched between the two pieces of crocheted fabric. Sew together using a needle and thread, tucking away any excess fiberfill as you go (see picture below). Do not pull too tight or your caddy will be difficult to open later on.
16.You now have a completed caddy doll!
Caddy Doll Free Patterns: Instructions
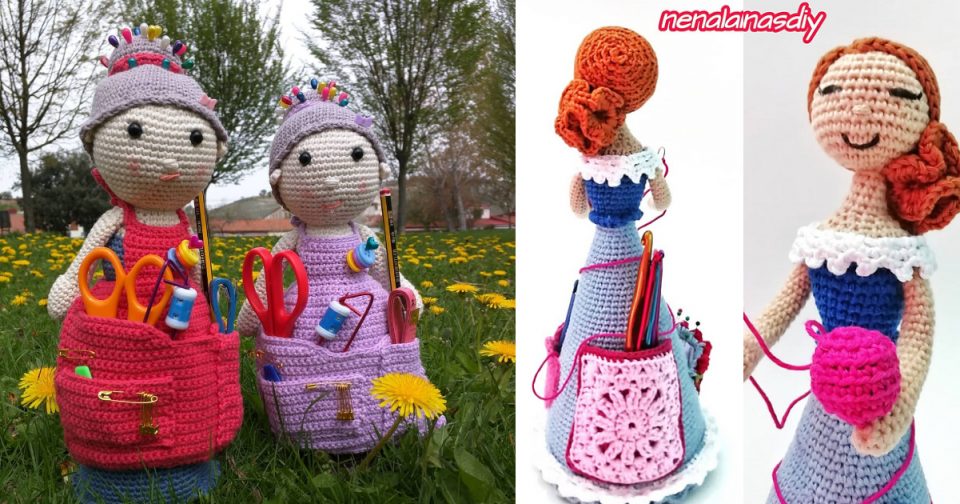
This crochet accessory caddy doll is perfect for holding all of your crochet supplies! The pattern is easy to follow, and the finished doll is sure to be a hit with your crochet friends.
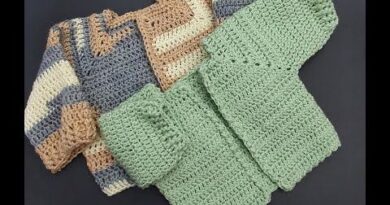
The pattern includes instructions for a boy and girl caddy doll, as well as a hat and scarf set. You will need just a few basic supplies to complete this project, including cotton yarn, a J hook, and some stuffing.
If you’re new to crochet, be sure to check out our beginner’s guide first. Once you’ve got the basics down, feel free to try out some of our other free patterns!
Caddy Doll Free Patterns: Conclusion
If you’re in the market for a crochet accessory, you’ll love these free patterns! This caddy doll is perfect for holding your yarn and other materials, making it easy to find what you’re looking for.
The pattern includes instructions on how to make the caddy as well as pictures to help guide you along the way. So if crochet is something that interests you, be sure to check out these free patterns and start creating some amazing accessories!
If you liked this article, share and like on Facebook.
Please tag your photos on facebook and post your final result in my group.
JOIN THE FACEBOOK GROUP CLICK HERE
Learn How to Crochet Accessories Caddy Doll Free Patterns:
Access the free pattern / Crochet Accessories Caddy Doll Free Patterns
If you liked this pattern but want to see more options for patterns to make with crochet yarn, below we leave some more models for you to be inspired by:
Beautiful Pineapple Baby Dress for Summer Free Crochet Patterns
20 + Free Crochet Bunny Patterns
Dolls Clothes: Barbie Crochet Dress | Free Pattern
Babie Giraffes – Amigurumi Collection [Free Crochet Pattern]
Emmie Crochet Eenhoorn – For Babies
All of us had a great week, full of God’s Desired houses in their works, and a lot of creativity to start another project mainly with crochet yarn.
With love and affection, Crochet To Day Free!