Charming Crochet Kitchen Apron
Charming Crochet Kitchen Apron. Whether you’re new to the world of crochet or a seasoned veteran, this step-by-step guide will guide you through creating a beautiful handmade kitchen apron. With your skill and creativity, you will not only create a functional piece, but also an item that will add pizzazz to your cooking experience. Let’s start creating with yarn and needles!
Necessary materials:
Cotton thread in colors of your choice.
Yarn compatible crochet hook.
Scissors.
Measuring tape.
Decorative buttons.
Your passion for creation!
Step 1: Choose Color and Design
Start by choosing colors that reflect your personality and style. Think simple patterns like stripes or checks, or go a step further with more intricate designs. Let your imagination run wild!
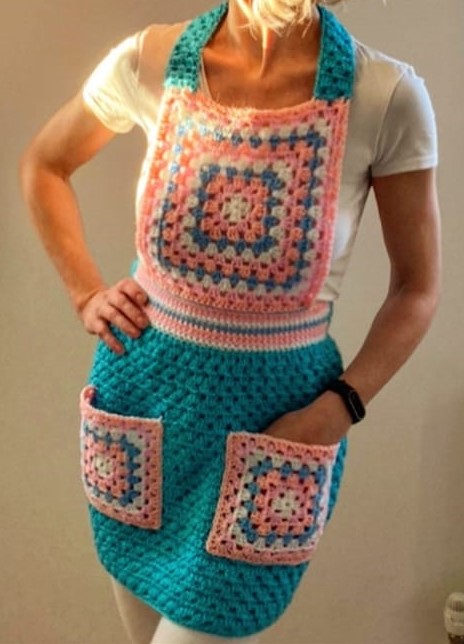
Step 2: Measurement and Planning
Use the measuring tape to measure your waist and desired height for the apron. Based on the measurements, create a basic sketch of the apron on paper. This will help visualize the final design.
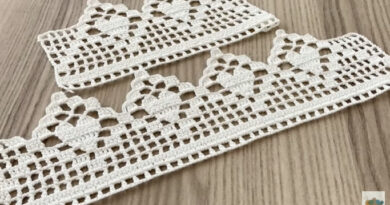
Another crochet pattern in PDF
Step 3: Beginning of Crochet
Start by making a chain of crochet stitches the length of which corresponds to your waist. This will serve as the base of the apron. Be sure to leave a long end to tie off later.
Step 4: Creative Points
Now start working on the rows of stitches that will form the body of the apron. You can choose to use basic stitches like the high point, or experiment with more complex stitches to add texture.
Step 5: Format and Handles
As you continue to crochet, shape the apron according to the sketch you created. For the straps, make two straps long enough to go over your shoulders and tie them securely at the top corners of the apron.
Step 6: Final Creative Touch
Here’s the opportunity to add personality to your apron. You can create pockets to store utensils, apply crochet flowers or even use embroidery techniques to enrich the design.
Step 7: Finishing
Finish the corners and edges of the apron for a polished look. Make sure all loose ends are securely tied and hidden.
Step 8: Decorative Buttons
On the upper part of the apron, sew decorative buttons on the handles. Not only will this add a charming detail, but it will also allow you to adjust the length of the straps as needed.
Step 9: Admiring Your Creation
Once all the details are in place, take a moment to admire your handiwork. Your unique crochet apron is ready to be worn and proudly displayed!
Conclusion:
With this guide, you’ve brought a beautiful crochet kitchen apron to life. Remember, each stitch was made with love and dedication, transforming it into a functional and stylish accessory. Keep exploring the creative world of crochet and create amazing pieces that express who you are. Happy crocheting!
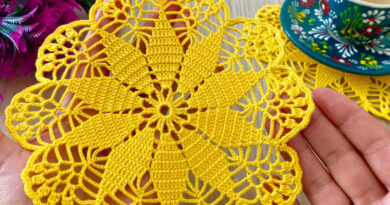
If you liked this crochet yarn craft pattern, but would like to see a few more models before starting a new project, we’ll leave you with more options below:
BASIC CROCHET RIBBED FAMILY HAT
Access the free crochet pattern/ Charming Crochet Kitchen Apron – PDF
We wish you all an excellent week filled with God’s grace and mercy in your homes, and especially lots and lots of yarn, of the most diverse colors, for you to crochet.
With love and care, Crochet Today!